Subtraction – The First Three Weeks
Here’s an overview of some of the things I’ve learned the from the first three weeks of Subtraction.
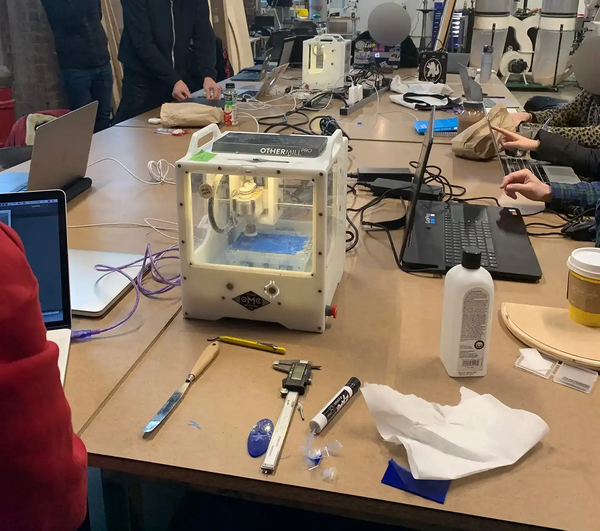
Othermill
The Othermill is a small CNC-desktop machine. It can handle a lot of materials such as wood, soft metals, acrylic etc. Make sure to download these materials first from the Othermill-website. First clean the bed with aceton and vacuum it beforehand and once youre finished.
First measure the width, height and thickness of the object you want Press the object you wanna CNC with double sided tape firmly to the base plate. You first have to home it (so the CNC knows the position and the bit needs to touch the metal baseplate so it can determine the height of the Z-axis).
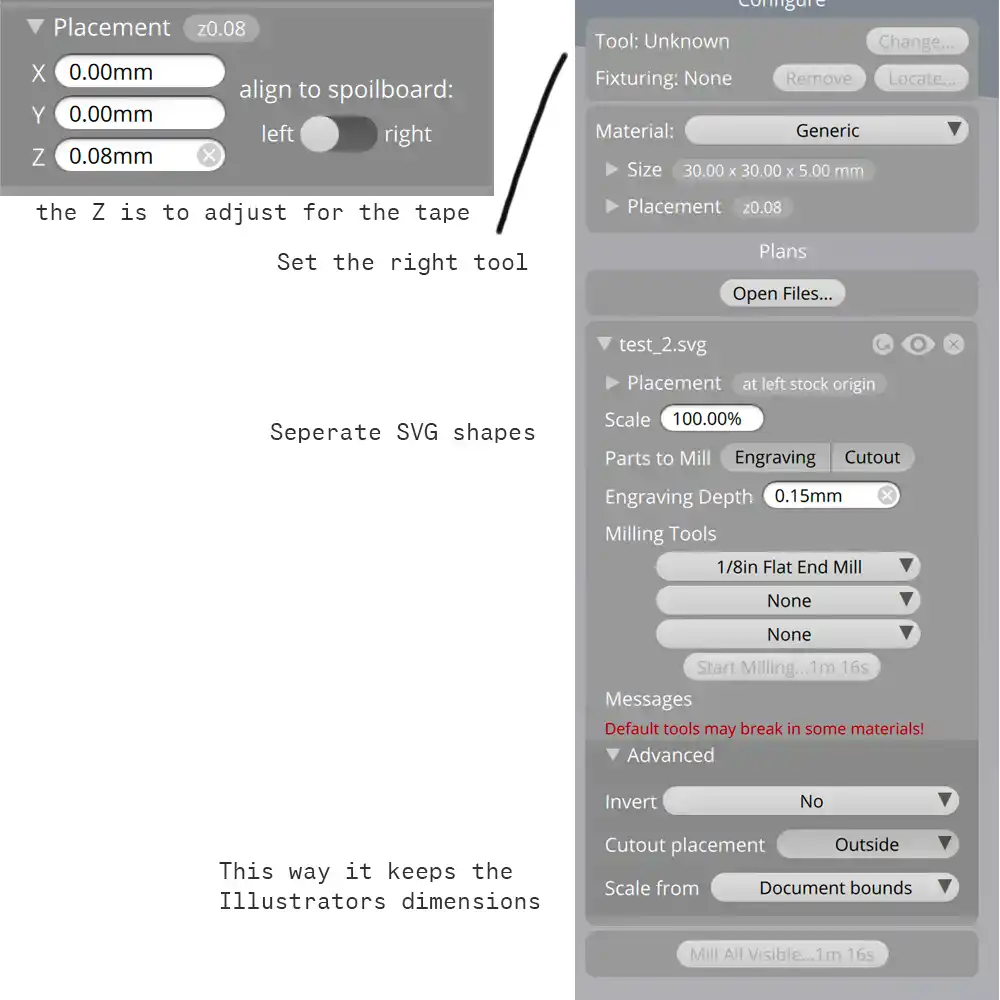
Each of the SVG shapes has to be added seperately so you have full control over it.
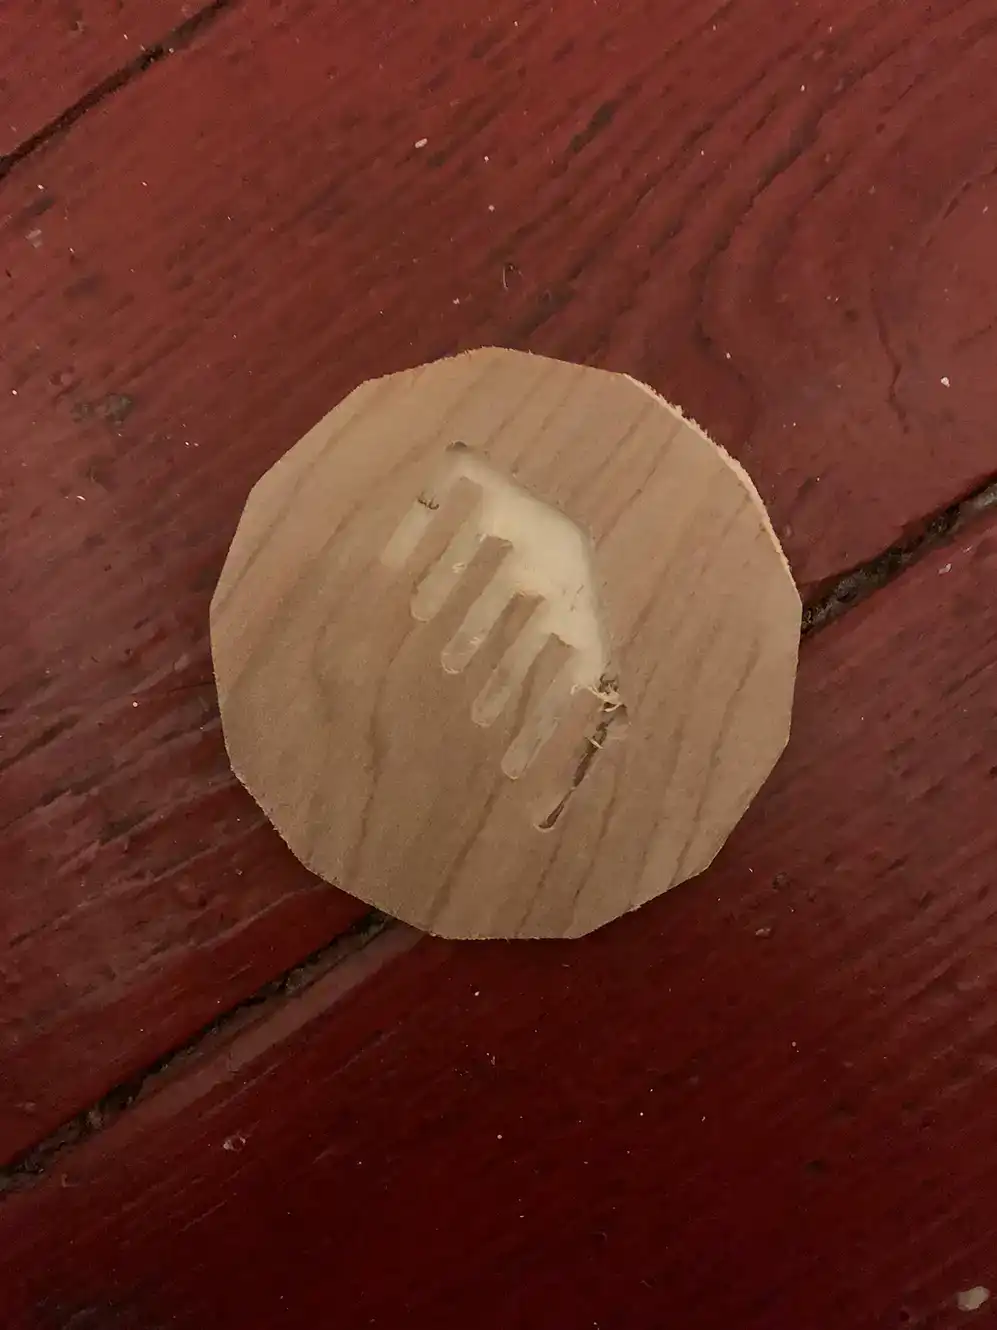
My first CNC’ing result isn’t that spectacular. Basically a piece of MDF which I cut and engraved:
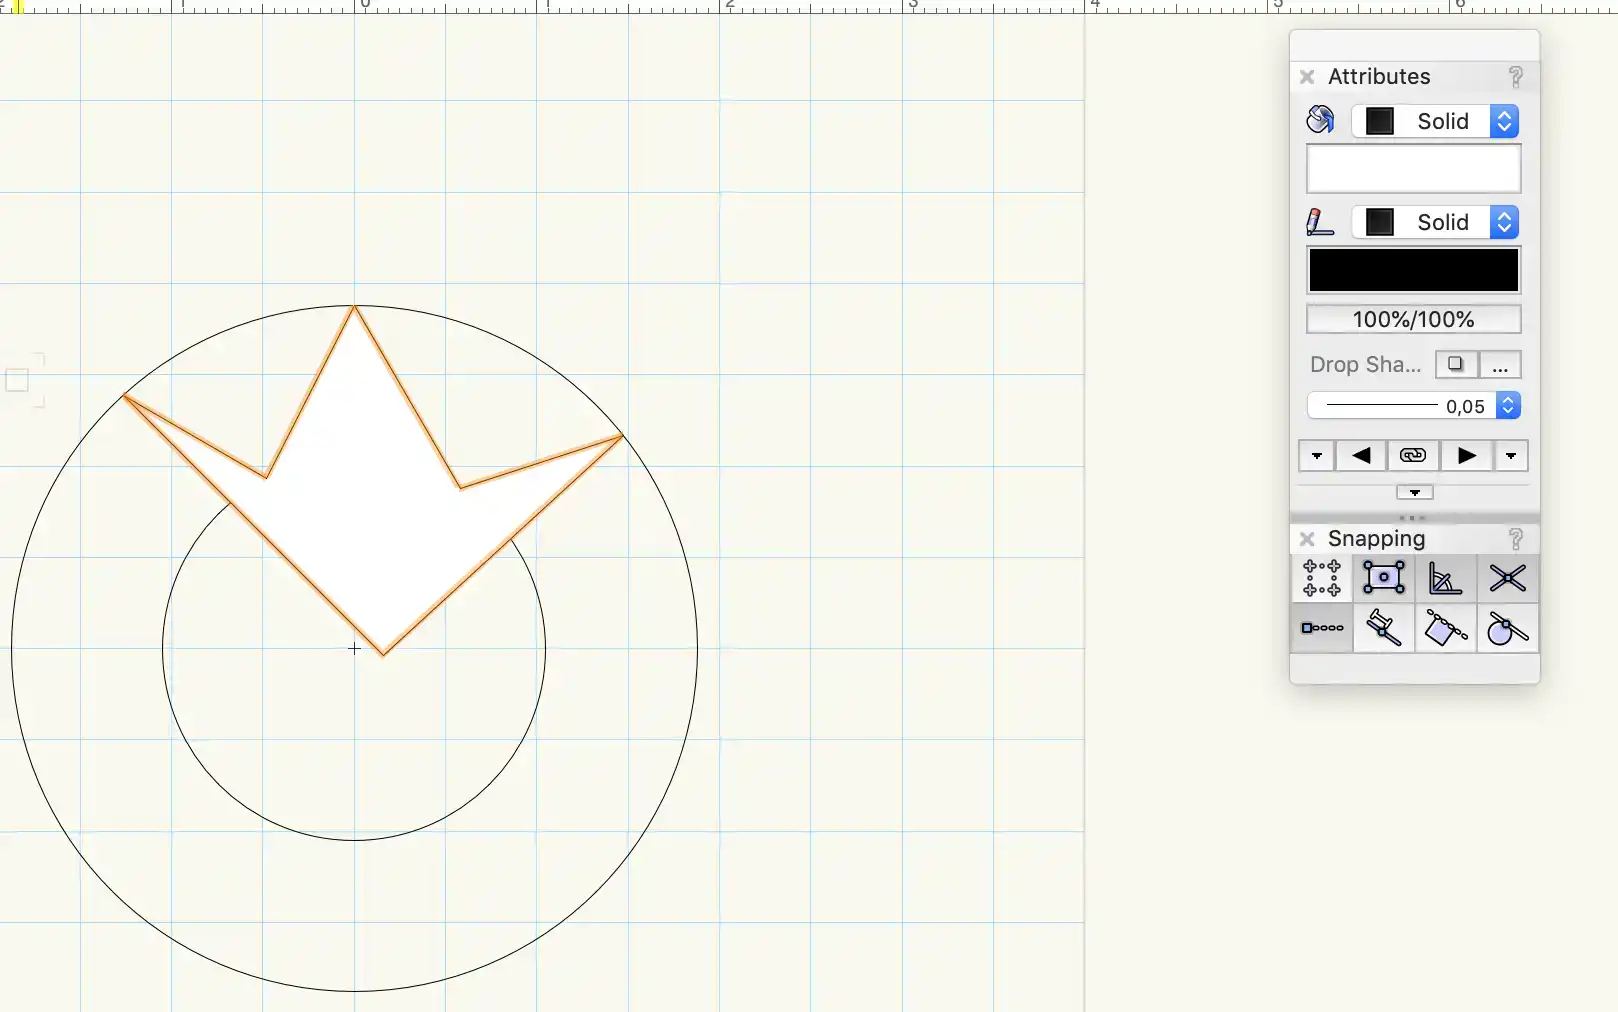
Vectorworks
Vectorworks is an autocad program. Some of the basic functions we learned in the third week:
Circle drawing
While drawing you can press tab to be more precise.
You can also change the circle later on in the right menu
2d polygon tool
Offset tool
If you want to make acrylic pieces that fit together you can use the offset tool for this. Getting the calculations right is a bit of a trial and error process.

Filet tool
Since the bit has troubles make sharp edges (it’s often too big to reach that), it’s smart to already incorporate this limitation in your design. To do so you can use the filet tool. Give it a bit more radius than the bit that you are about to use. For instance if you’re using an 1/8 inch bit (.125), you’ll use the radius (.65), and add a bit extra just in case (so .7)
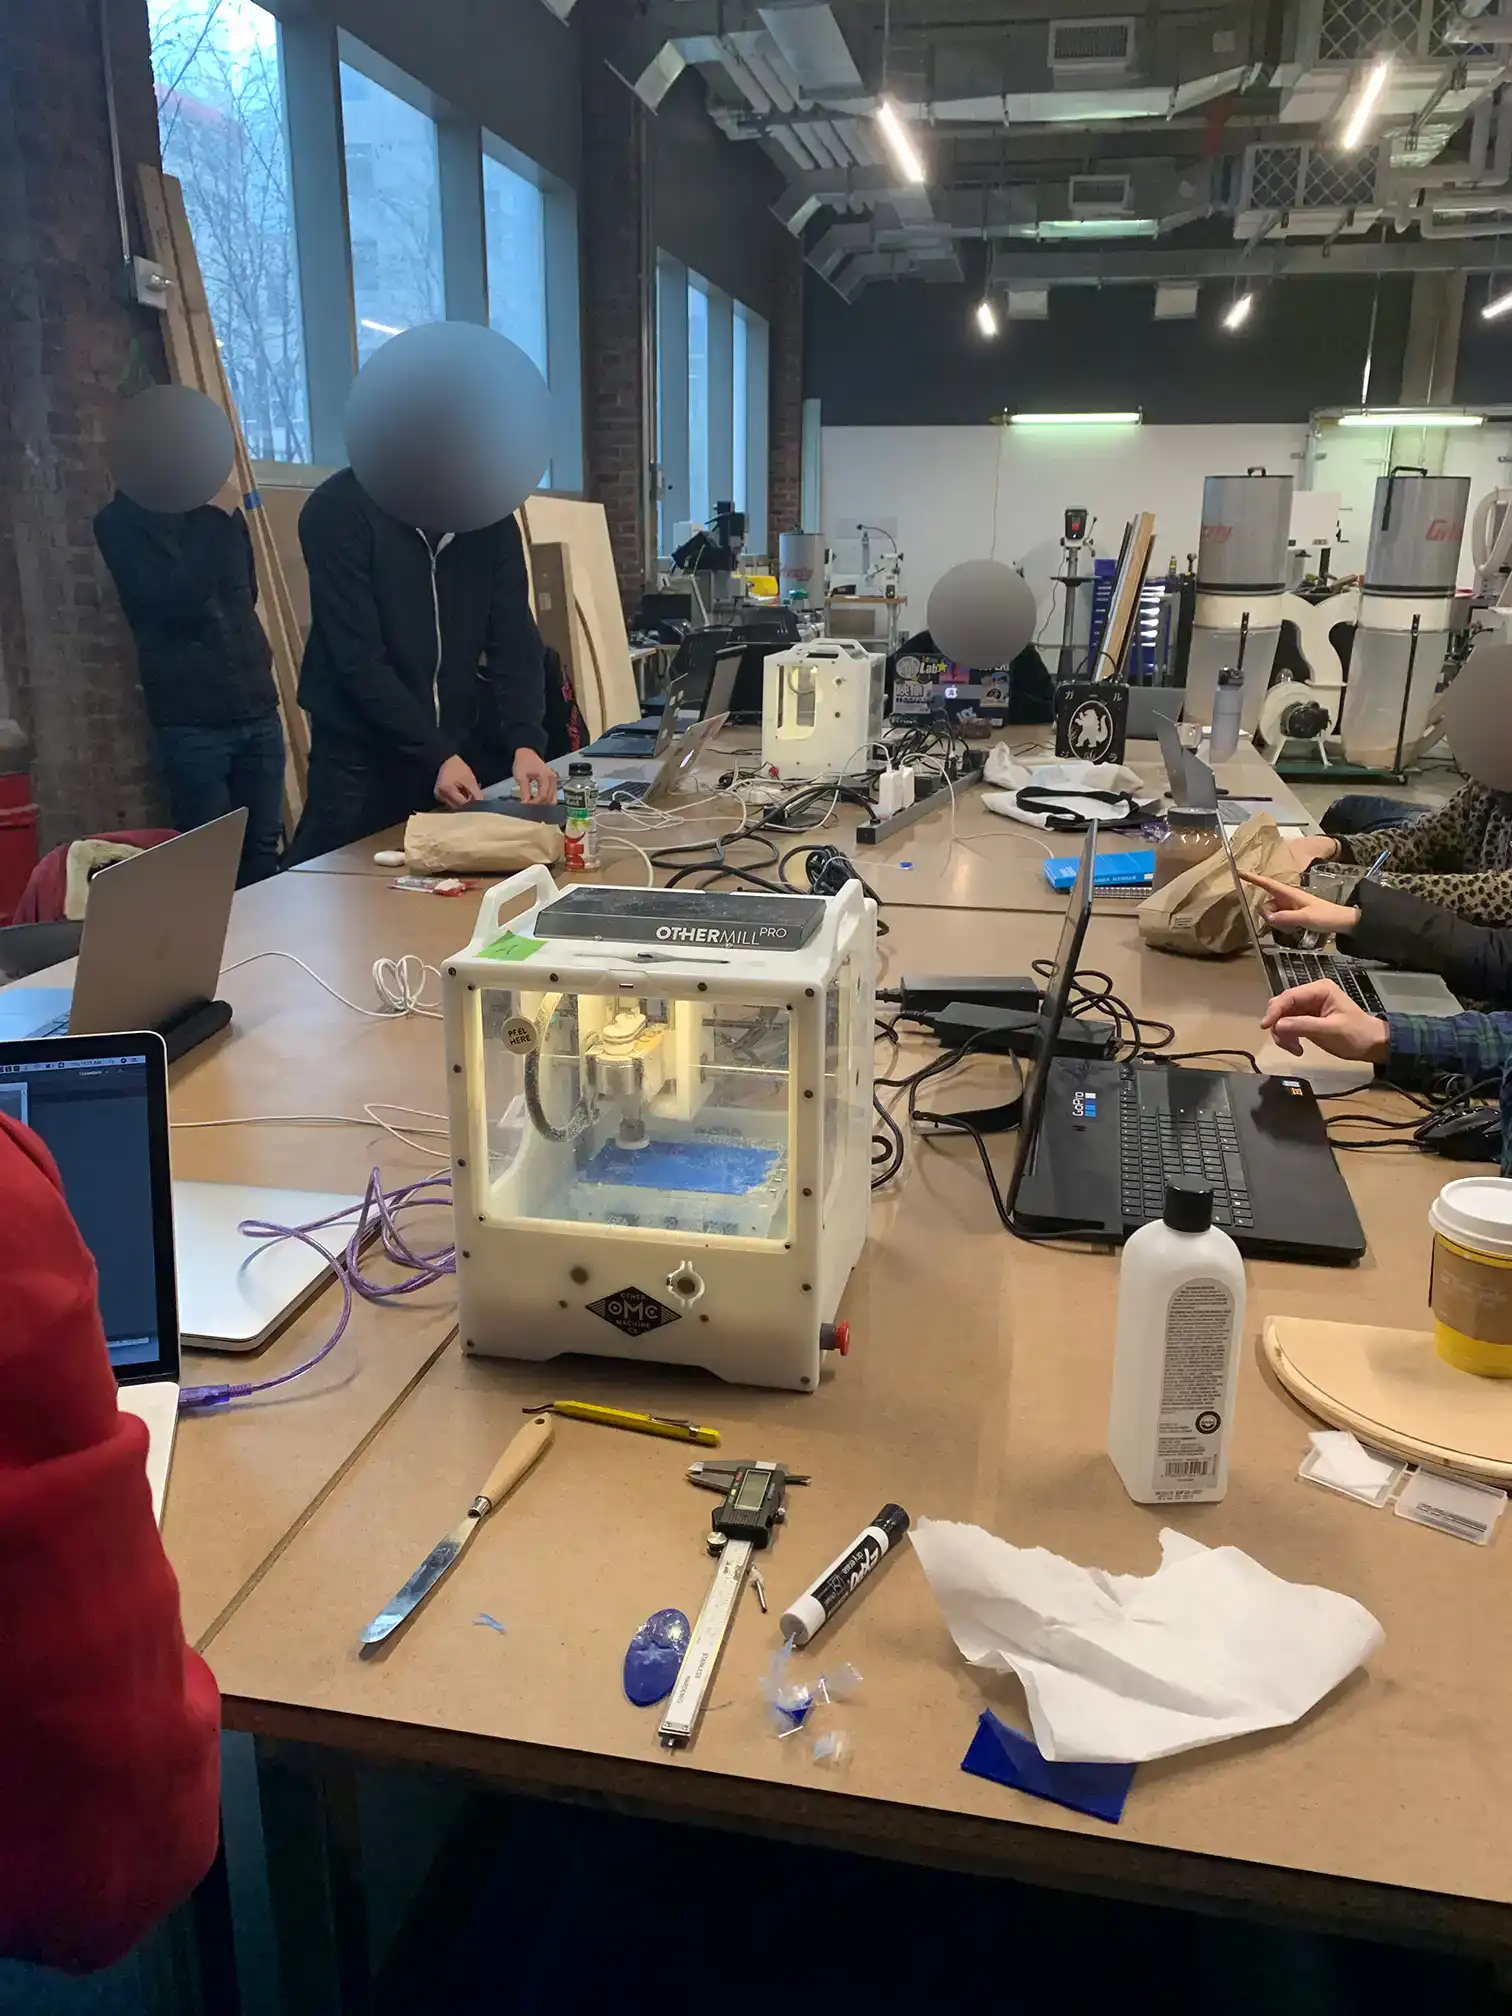
Some of the tools in the shop
WIP